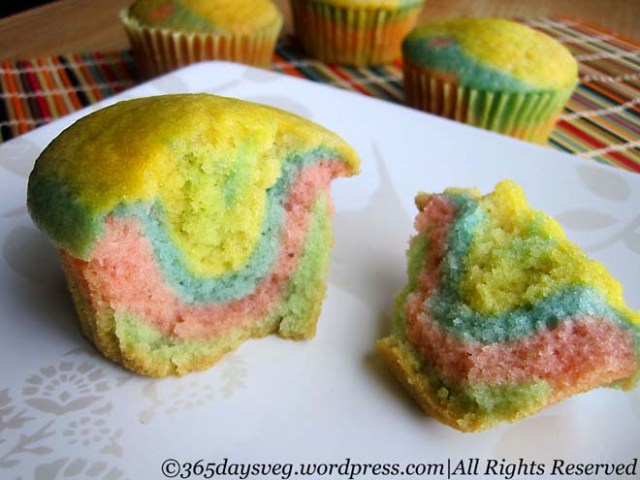
Cookies ~ Soft or Crisp, Warm or room temperature, Chewy or not, is a universal dessert that can satisfy everybody. With various flavors from chocolate chip to nutty almond the options are endless. I generally avoid baking because baking requires meticulous preparation, mixing and baking of ingredients when I generally measure ingredients by eye-ball method. But cookies is something my children would like to get involved. They enjoy rolling a small portion of the dough with their tiny rolling pin, or cut out shapes using cookie cutters. It is such a family bonding time for us. Plus, who does not like home-made baked goodies as a thank you gesture?
It’s simple, delicious and speaks volumes. We had so much making these cookies and my kids picked out their flavor for the center filling – raspberry! They even made their thumbprints in the center for the filling which I thought was so cute. I believe that by getting them involved like is a great way to introduce cooking and appreciation for food at an early age. Ok, enough said, let me share the easy recipe.
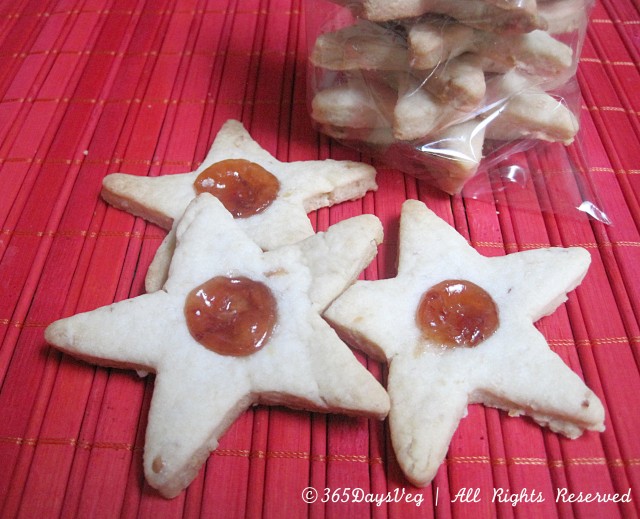
Thumbprint Cookies
Ingredients:
2 sticks butter, softened
1/2 cup sugar
1 tsp vanilla
2 cups all-purpose flour
A pinch of salt
1 tbsp flaxseed soaked in 3 tbsp water (optional)
Jam
Directions:
Preheat oven to 375 degrees F. Line your baking sheet with parchment paper or use PAM non-stick baking spray. Using a mixer, cream together the butter and sugar, then add the vanilla. Scrape down the sides of the bowl and mix until incorporated. Whisk the salt into the flour and gradually add to the butter mixture, add flaxseed and mix. Check for adjusting sweetness per your taste and adjust.

Sprinkle your surface with flour and with a rolling pin, roll until the dough is about an 1/8 of an inch thick. Using a star or any shape cookie cutter, press into the dough and cut cookies. Place on a baking pan, press with your thumb in the center for filling jam.
Bake cookies for about 8 to 10 minutes or until bottoms are just barely golden. Remove cookies from oven. If thumb prints look shallow in the center, press a little more again and then fill each with approximately 1/2 teaspoon jam. Bake for an additional 3 to 4 minutes, or until jam melts slightly and edges of cookies are lightly golden. Transfer cookies to wire racks to cool.
Enjoy them or gift them in a gift bag with a ribbon of your choice.

Eggless Thumbprint Cookies ~ Perfect for any season
NOTE: The jam will set and harden slightly after cookie completely cools down.